TLDR: We installed lengths of 1575 series 8020 down the lower sides of the van walls to facilitate future attachment of all of our 8020 structure.
The reasons why we chose to use "wall 8020" in our build are contained in this article. The details of our thermal breaks can be found in this article. This post is mostly the how and when.
Method
We took advantage of two rows of co-planer aligned factory holes in the bottom third or so of the passenger and driver side walls. We populated those holes with plusnuts, as detailed here.
We cut the 8020 to length using our trusty Evolution Rage4 metal chop saw (after a lot of effort to square it).
 This saw is a pretty good bargin and served well for two builds.
We match drilled the holes making excellent use of a center scribe, transfer screws, and a drill press. For details on how we did this, see our post on installing L-track, as it's basically the same idea.
 We cannot emphasize enough how useful transfer screws are.
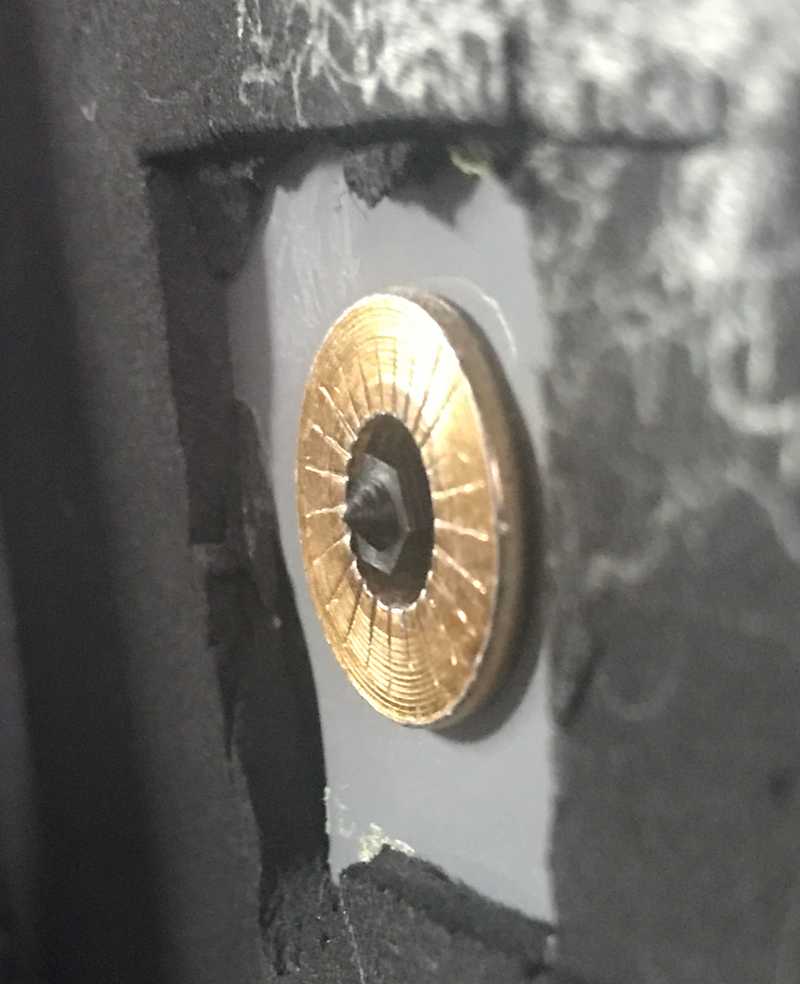
We used a wide step bit to open up the holes on the outer faces to pass the fastener head.
We loc-tited and installed.
 Ready for Loc-tite and torque.
What We Would (Probably Not) Change
We used the 1575 profile, but the 1534-lite profile is slightly lighter. In our build we would have saved 1.6 lbs using the lighter profile. Thats a pretty small improvement, and based on availability and order times, we'd probably stick with what we did.
Timeline
Note, this doesn't reflect full time effort. It's mostly evenings and partial days, limited by work, etc.
- Tuned saw to be square and cut and match drilled all wall 8020 (Sat 10-17-2021)
- Fabricated 8020 inserts and insulating spacers 1.0 (Tue 10-19-2021)
- Fabricated insulating spacers 2.0, drilled out holes for capscrew heads, ordered a new step bit (Thu 10-21-2021)
- Finished drilling holes for capscrew heads (Sat 10-23-2021)
- Loc-tited and torqued the wall 8020 (Wed 11-10-2021)
